Showing posts with label Sweets. Show all posts

Sunday, October 9, 2011

Spencer's Lemon Bars

Sometimes, Spencer comes with me to the grocery store.  He pushes the buggy while I run around matching coupons with sales and tracking down the things on our list.  And trying to stay out of his way so the back of my ankles don't get run into.  :)

A few weeks ago, we were on the baking aisle. { Surprise, surprise. I practically live there. } I returned to the cart with a bag of flour, and Spencer was standing there with his arms outstretched holding a box.  He asked, "Maybe one day will you make these for me?" Bless his sweet heart, the man wants lemon bars.  And the reality is, control-freak-me usually makes what I want.

So if the man wants lemon bars, lemon bars he will get.  And not from a box.

I've no idea where I got this recipe.  It's been on a piece of paper in my blue pantry folder for years.  Crust like a shortbread cookie paired with a delightfully tangy topping.  When I made them, Spencer wouldn't let me take them to work.  That's the sign of a sure-fire winner in this house!


Spencer's Lemon Bars
makes 18 bars
Ingredients
  • Crust
    • 1 cup { 2 sticks } cold butter
    • 1 3/4 cup flour
    • 2/3 cup confectioner's sugar
  • Topping
    • 1 1/2 cup plain white granulated sugar
    • 1/4 cup flour
    • 1 teaspoon baking powder
    • 4 eggs, slightly beaten
    • 1/2 cup lemon juice
    • 2 teaspoons lemon zest
Equipment
  • Whisk
  • Pastry blender
  • Medium and large mixing bowls
  • 9"x13" baking pan
Instructions
  • Preheat oven to 350*.
  • Begin preparing crust.  Whisk flour and confectioner's sugar together in a medium bowl.
  • Cut in butter { using a pastry blender or knife and fork } until coarse and crumbly.
{ Cutting the butter into tablespoons will help it blend more easily. }

{ It will still be very dry, so don't worry! }
  • Pour mixture into a 9" x 13" pan.
  • Press mixture evenly into bottom of pan.
  • Bake for 20 minutes or until golden brown.
  • While crust is baking, prepare topping.  Start by mixing sugar, flour and baking powder in a large bowl.  Then add slightly beaten eggs, lemon juice and lemon zest.

  • Mix well and pour over warm baked crust.
  • Bake for 20-25 minutes.
  • When cool, cut into bars and dust with confectioner's sugar.
  • Keep refrigerated.  Serve cool and enjoy!

Sunday, October 2, 2011

Melted Ice Cream Cake

I love cake.  I love ice cream.  I love ice cream with cake.  If you fall into any of these categories, you'll love this.  { And if you don't, well... I'd like to know how you resist. }

This post is based on a very simple formula:

White Cake Mix + 2 Cups Melted Ice Cream + 3 Eggs = Melted Ice Cream Cake

I don't even think you can even call this a recipe.  It works with any flavor (try Ben & Jerry's Cherry Garcia!), but for my sister-in-law's birthday I went with Cookies & Cream.  Coupled with my favorite butter cream cheese frosting, I'd venture to say that this is the best Oreo cake I've ever had!

Cookies & Cream Melted Ice Cream Cake
Adapted from The Cake Mix Doctor
Ingredients
  • 1 box White Cake Mix { I like Duncan Hines }
  • 2 cups melted super premium Cookies & Cream Ice Cream
    • 1 frozen pint should get you what you need
    • I don't recommend whipped or low fat varieties... they have too much air and won't yield 2 cups melted from 1 pint
  • 3 eggs
  • 1 18-ounce package Oreo Sandwich Cookies
  • Butter Cream Cheese Frosting { double batch }
Special Equipment
  • Food Chopper { or plastic bag and mallet for crushing cookies }
  • Stand Mixer
Instructions
  • Set ice cream out approximately 30 minutes ahead of time to soften and begin to melt.
  • Preheat oven to 350*.
  • If you're using an ice cream package larger than 1 pint { and clearly don't want to melt it all }, just spoon some out into a measuring cup.
  • Count out ten Oreos from the package.  Eat one.  Then pop the rest into your food chopper.
  • Don't have a food chopper?  Don't fret.  Just grab a big zip-top plastic bag and a mallet or heavy soup can.  Pound away your frustrations. : )
  • Pulse the chopper until cookies are roughly chopped.  You want the them about in fourths.
  • Transfer chopped Oreos to a bowl.
  • Then, grab 12 more Oreos.  Pop these in the food chopper and pulse until finely crumbled. Place the crumbles in a separate bowl.  { Pictured in front below. }
  • Check and see if your ice cream is a consistency about like the below.  It's okay if it's not entirely liquid, the mixer will take care of the rest.
  • Using a stand mixer, combine melted ice cream, cake mix and eggs on low speed until just incorporated.  Scrape the sides of the bowl down with a spatula if necessary.
  • Increase speed to medium and mix for two minutes.
  • Notice that all of those yummy cookie pieces are pulverized.  Let's fix that.  Remove bowl from mixer { let someone lick the beater! } and fold in the Oreo chunks.  These are the larger pieces from the food chopper.
  • Divide batter evenly between two greased and floured { or greased and lined! } 9" round cake pans.
  • Bake for 23-28 minutes, or until a toothpick inserted comes out clean.
  • Cool in pans for ten minutes.
  • Then transfer cakes to wire racks and cool completely. { If you used the liner method, remove the wax paper immediately after inverting.  Otherwise, it traps heat and will take longer to cool. }
  • Fold remaining cookie crumbles into the smaller bowl of frosting.
  • Place one cake layer on a cake stand or cardboard cake round, dome side up.  Using an offset spatula, spread cookie/frosting mixer evenly on top.
  • Invert second cake domed side down to stack cakes.
  • Spread a thin layer of plain frosting around the entire cake - top, sides and all.  It needn't be pretty or perfect. { This is what's called a crumb coat.  It'll keep crumbs out of your top layer of frosting! }
  • Then pop the cake into the fridge for at least 15 minutes.  It's a good chance to do the dishes. 
  • Once the crumb coat has set, decorate away with remaining frosting.  I used more Oreo crumbs, a 1M piping tip and a few Oreo halves.
  • Slice, share and enjoy!

Saturday, September 17, 2011

A Sublime Saturday Morning

Kates came to visit this morning, which meant we had the perfect excuse to return to our new favorite
{ indulgent } breakfast spot: Sublime Doughnuts.  Spencer and I have been there on a breakfast date, I've been with my team from the office, I went back with another group from the office... mention breakfast meeting and I've got the perfect spot.
If you live in Atlanta and haven't been, you are seriously missing out.  This place is to doughnuts what Flip is to burgers.  You won't find any ordinary jelly doughnuts at Sublime.  More along the lines of deliciousness like their A-Town Cream { shown above }, a custard-filled Belgian dark chocolate-topped confection.  Or the Reese's Peanut Butter Cup.  No explanation necessary there.  And the Orange Dream Star, which made Creative Loafing's list of "100 Things To Eat Before You Die."

Where is this list?  And how do I start eating my way through it?

Back to this morning.  Sublime is nestled between a sandwich place and a tattoo parlor on 10th Street near Georgia Tech and Rocky Mountain Pizza.  It doesn't look like much from the outside.  In fact, the sign only says "DONUT".  { Just one. }  We, however, shared seven.

I know, I know.  But we could have easily gotten 12.  You try going in there and practicing restraint.  Besides, seven is the Biblical number of completion.

Actually, we started with six and they brought out a bacon one.  So we made it seven.  Who says no to bacon?

Behold, our breakfast.

First, there's my favorite.  The fresh Strawberries 'N Cream.  And I don't even like filled doughnuts.
When they say fresh strawberries, they mean fresh.  The doughnut is light and fluffy with just the right amount of sweetness.
Then there's the S'mores { below left } and Spencer's favorite, the Maple Bacon Cheddar { below right }.  He would like the bacon one.
Check out the gooey toasted marshmallow goodness.  Holy jeez.
This isn't just any bacon either.  It's candied bacon.  When you thought bacon couldn't get any better.
Here's the famous Orange Dream Star { below left } and the White Chocolate Peach Fritter { below right }.
Now, I wasn't sure if the Orange Dream Star would live up to the hype.  I'm not a big orange-flavored person.  Orange juice?  Yes.  Orange flavor?  Usually not so much.  Growing up in Florida makes you an orange snob.  But this was delicious with sunny, bright flavor.  Not orange Tang like I was expecting.
This little plaque on the shelf really sums it all up.
So... Sublime Doughnuts.  They're closed entirely on Mondays and early on Sundays.  But by all means, go!

Sublime Doughnuts
535 10th Street Northwest
Atlanta, GA 30318

Wednesday, September 14, 2011

Cookie Dough Cupcakes - Part III

It's cookie dough.

In a cookie dough flavored cupcake.

And quite possibly the best thing I've ever baked.

{ According to Jamie.  Who would know.  If you're going to be on my team at the office you have to be okay with taste testing. }

I'm sorry it took three posts.  You're probably over these by now. Or maybe you just want the frosting recipe already.

{ I'm a frosting kind of girl.  Which for some reason makes me thinkg about Mrs. Doubtfire. "One lump or two, dear?" }


Cookie Dough Frosting

Ingredients
  • 1½ cups unsalted butter, softened
  • ¾ cup light brown sugar, firmly packed
  • 3½ cups powdered sugar
  • 1 cup all-purpose flour
  • ¾ teaspoons salt
  • 3 tablespoons milk
  • 2½ teaspoons vanilla
Equipment
  • Mixer with paddle attachment
Instructions
  • Beat butter and brown sugar on medium-high until light and creamy.
  • Add powdered sugar { a little bit at a time to prevent the annoying cloud that will coat your entire countertop! } and mix until smooth.
  • Mix in flour and salt.
  • Add vanilla and milk and mix until well incorporated.
Now for the fun part - assembly!  Check out this handy dandy little tool.
It's a cupcake corer and it makes quick and easy work of, um, coring cupcakes.  A knife will work just as well, but the corer was a Christmas gift from my sister and it's so much fun.
{ Voila! }
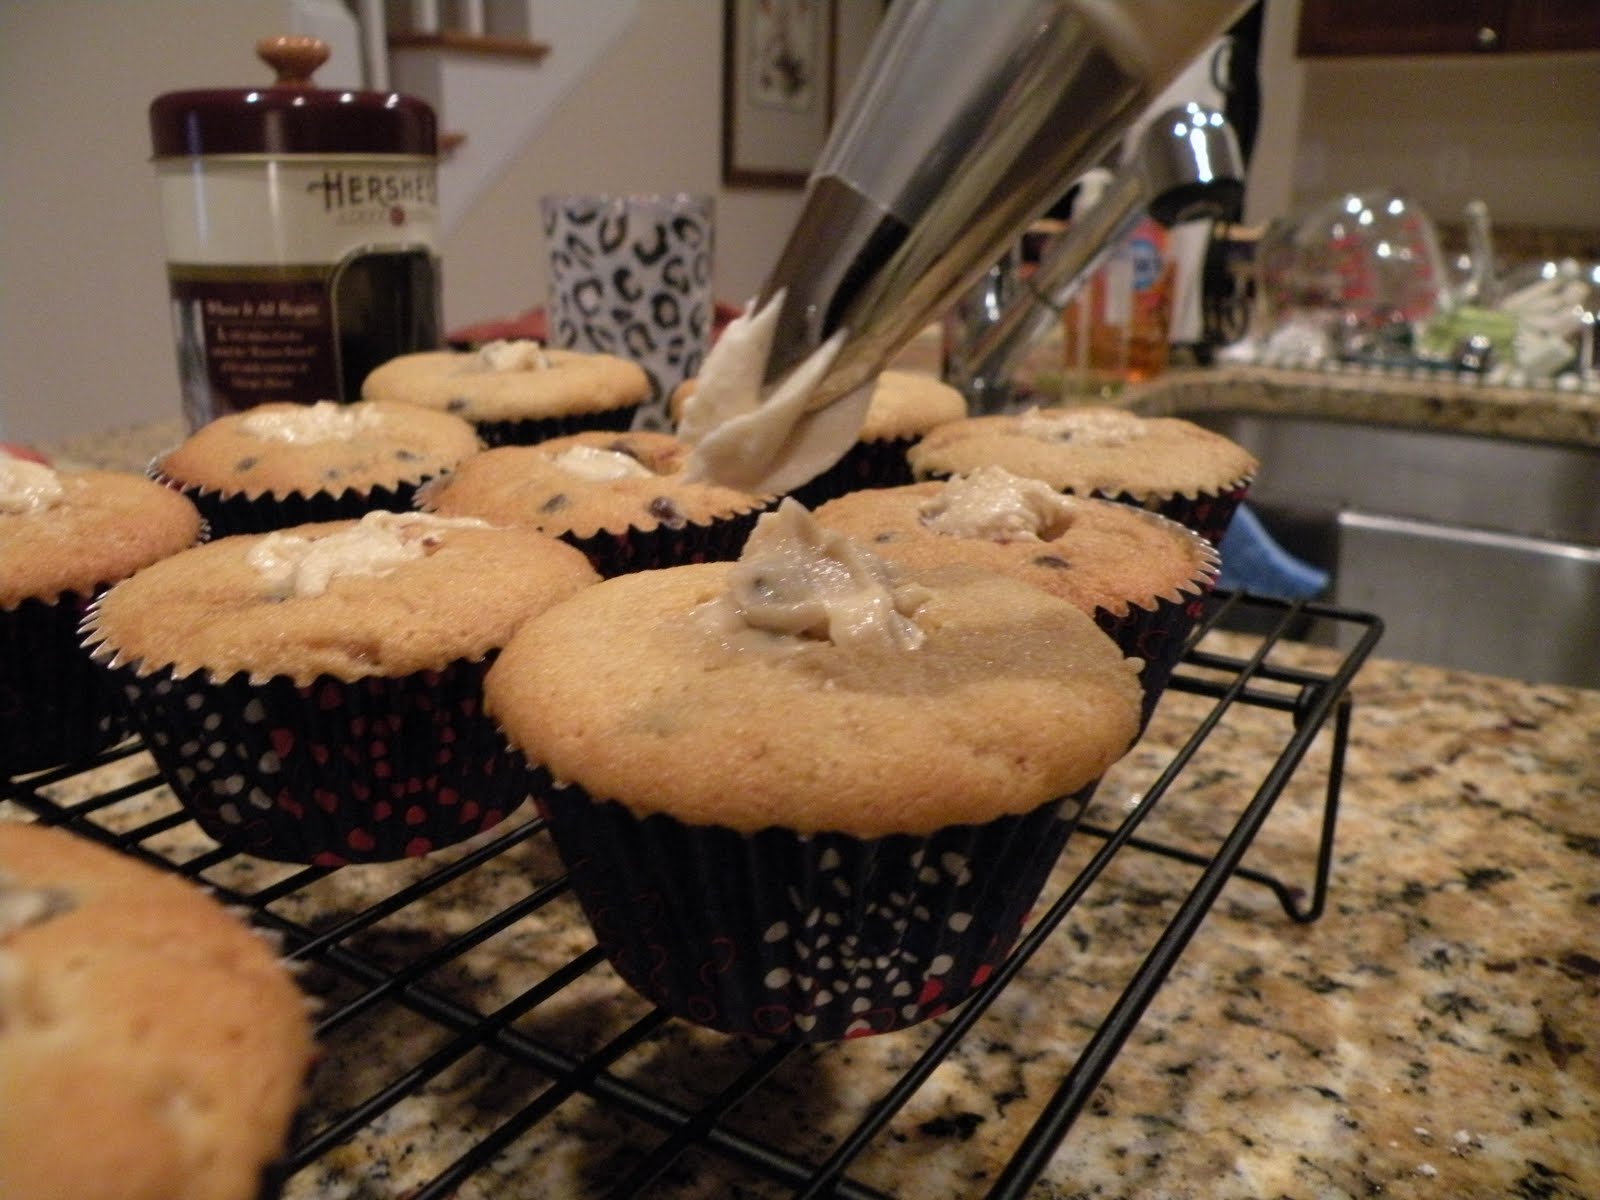
  • Use a knife or nifty cupcake corer to remove a nickel-sized cylinder from each cupcake.
  • Eat a cylinder.  Or two.  Or four.  { See?  You can taste the cupcakes and no one will know! }
  • Fill each cupcake with a dollop of the firmed eggless cookie dough.  { It is super sticky... I found it very helpful to spray my fingers with Pam so it would quit sticking to me and actually stay in the cupcake. }
 
  • Frost using a pastry bag and 1M piping tip.
  • Sprinkle with miniature chocolate chips.
  • Then eat one!  For breakfast, if you want.  That's how we roll in this house sometimes.  Don't tell my mom.  Or my mother-in-law. : )