Wednesday, June 8, 2011

Summer Reading

I started this post on an airplane somewhere over Tennessee.  { And I still can't wrap my head around the fact that that's possible.  Or the fact that I just used two consecutive "thats" in a sentence.  Is that even grammatically permissible?  I digress.  I hate when my brain changes tracks like that.  Back to the matter at hand. }
I had my computer up because I'd just finished a really good book, I have a 30-day wifi pass on Delta { hooray! }, and I'd already read this month's Sky magazine.  But about the book I just finished.  SO GOOD.  Not my usual style, either.  I bought it on a whim at The Book Stop while looking for the sequel to The Hunger Games.

The Devil In The White City is an account of the 1893 Columbian Exposition { World's Fair } in Chicago.  See, I told you it doesn't sound like my kind of book.  But one of the reviews on the back made by buy it: "so good, you'll find yourself asking how you could not know this already."  And they were right.

The Fair celebrated the anniversary of Columbus' discovery of America.  It was a feat of engineering and a testament to a city { and a nation } that pulled together in the midst of an economic crisis and insurmountable odds.  Faced with the task to "out-Eiffel Eiffel" and the tower he'd built at the previous World's Fair in Paris, Daniel Burnham assembled the brightest minds and thousands of workmen to transform an area of Chicago into a white wonderland.

At every turn, the book gives coincidental backstory on a surprising number of things we're familiar with today.  I had no idea that the Fair gave us Columbus Day, shredded wheat, Cracker Jacks, the Ferris Wheel and Juicy Fruit.  And you come across Helen Keller, Frank Lloyd Wright, and Elias Disney {Walt and Roy's dad } in the process.

But in the midst of the construction of the "White City", as the Fair was known, a more sinister force was at work.  The massive influx of people allowed men like H.H. Holmes a surge of potential victims.  If you like "The Girl With The Dragon Tattoo", this is a little like that { though far less graphic }.

I read at least half of this book thinking that it was a novel.  That's when I found the categorization on the back cover { history } and dug deeper.  Everything in the book that appears in quotation marks is an actual quote from a letter, telegram, memoir or court document.  It's a history book that reads like a novel.  You won't be able to put it down!

Next up on my list is the second book in The Hunger Games { Catching Fire }, followed by One Day and The Paris Wife.  But at the rate I'm going these days, and some upcoming travel, I sure could use some recommendations.

What's on your reading list for the summer?

PS - Devil in the White City is being made into a movie for release next year... with Leonardo DiCaprio starring as Daniel Burnham!

Monday, June 6, 2011

Fried Green Tomatoes

Fried green tomatoes.  What's not to love?  The movie is a southern classic and filmed just up the road from my parents' house in Juliette, GA.  The Whistle Stop Cafe actually still stands there today.  And if you've ever seen the movie, then you'll understand why my bridesmaids gave me a roll of plastic wrap.
{ Sorry, Mom. }
Now of course, the film's namesake dish doesn't exactly get all the spotlight in the movie.  Another, shall we say, recipe does.  But when my recent visit to Macon resulted in my returning with green tomatoes... well, a girl's gotta do what a girl's gotta do.

A little research and a little experimenting later... behold!  Something I always deemed too difficult to make.  Darn good fried green tomatoes!  Panko bread crumbs make for an excellent crunch, superior to the corn meal versions in my opinion.  And Cajun seasoning gives them a good bite.

PS - if you ever visit the Whistle Stop Cafe, I might steer clear of the BBQ. :)

{ I definitely ate two before taking this picture.  Oops. }
Fabulous Fried Green Tomatoes
Yield: Appetizer-sized servings for 4
Ingredients
  • 2 large green tomatoes, ends removed, cut into 1/4" slices
  • 3/4 cup flour
  • Fresh ground black pepper
  • 1/4 teaspoon cayenne pepper
  • 1/2 teaspoon seasoned salt
  • 1 1/2 cups buttermilk
  • 1 1/2 cups plain panko { Japanese-style } bread crumbs
  • 1 tablespoon Cajun seasoning
  • 1/2 cup vegetable oil
Equipment
  • 3 medium shallow bowls
  • Cast iron skillet { or other heavy-bottomed frying pan }
  • Stainless steel tongs { plastic ones might melt! }

Directions
  1. Prepare yourself a dredging assembly line of sorts.  In first bowl, combine flour, both peppers and seasoned salt.  Pour buttermilk into a second bowl.  Then, mix bread crumbs and Cajun seasoning into a third bowl.
  2. One slice at a time, coat both sides of tomatoes in flour mixture, then buttermilk, then bread crumbs.  Pat down to ensure adequate coverage for crunch.
  3. Heat oil in skillet over medium heat to 350*.  Now if you're like me and don't have a thermometer up to the job... here's a trick.  Find a wooden spoon.  Dip just the tip of the handle in your hot oil.  If it bubbles almost immediately, you're good to go.
  4. Transfer breaded tomatoes to skillet using tongs and fry in batches, 2-3 minutes per side.  Gently remove tomatoes when done and place on paper towel-lined plate to drain.
  5. Serve warm, with goat cheese and a chiffonade of basil if desired.

Or you could just eat them straight of the paper towel-lined plate, like me.  And then call your neighbors to come get some so you don't single-handedly eat them all.  Not that I did.  Eat them all, I mean.  I did actually call the neighbors.

Now... what to do with leftover buttermilk.  Biscuits, anyone?

Sunday, June 5, 2011

Green Acres

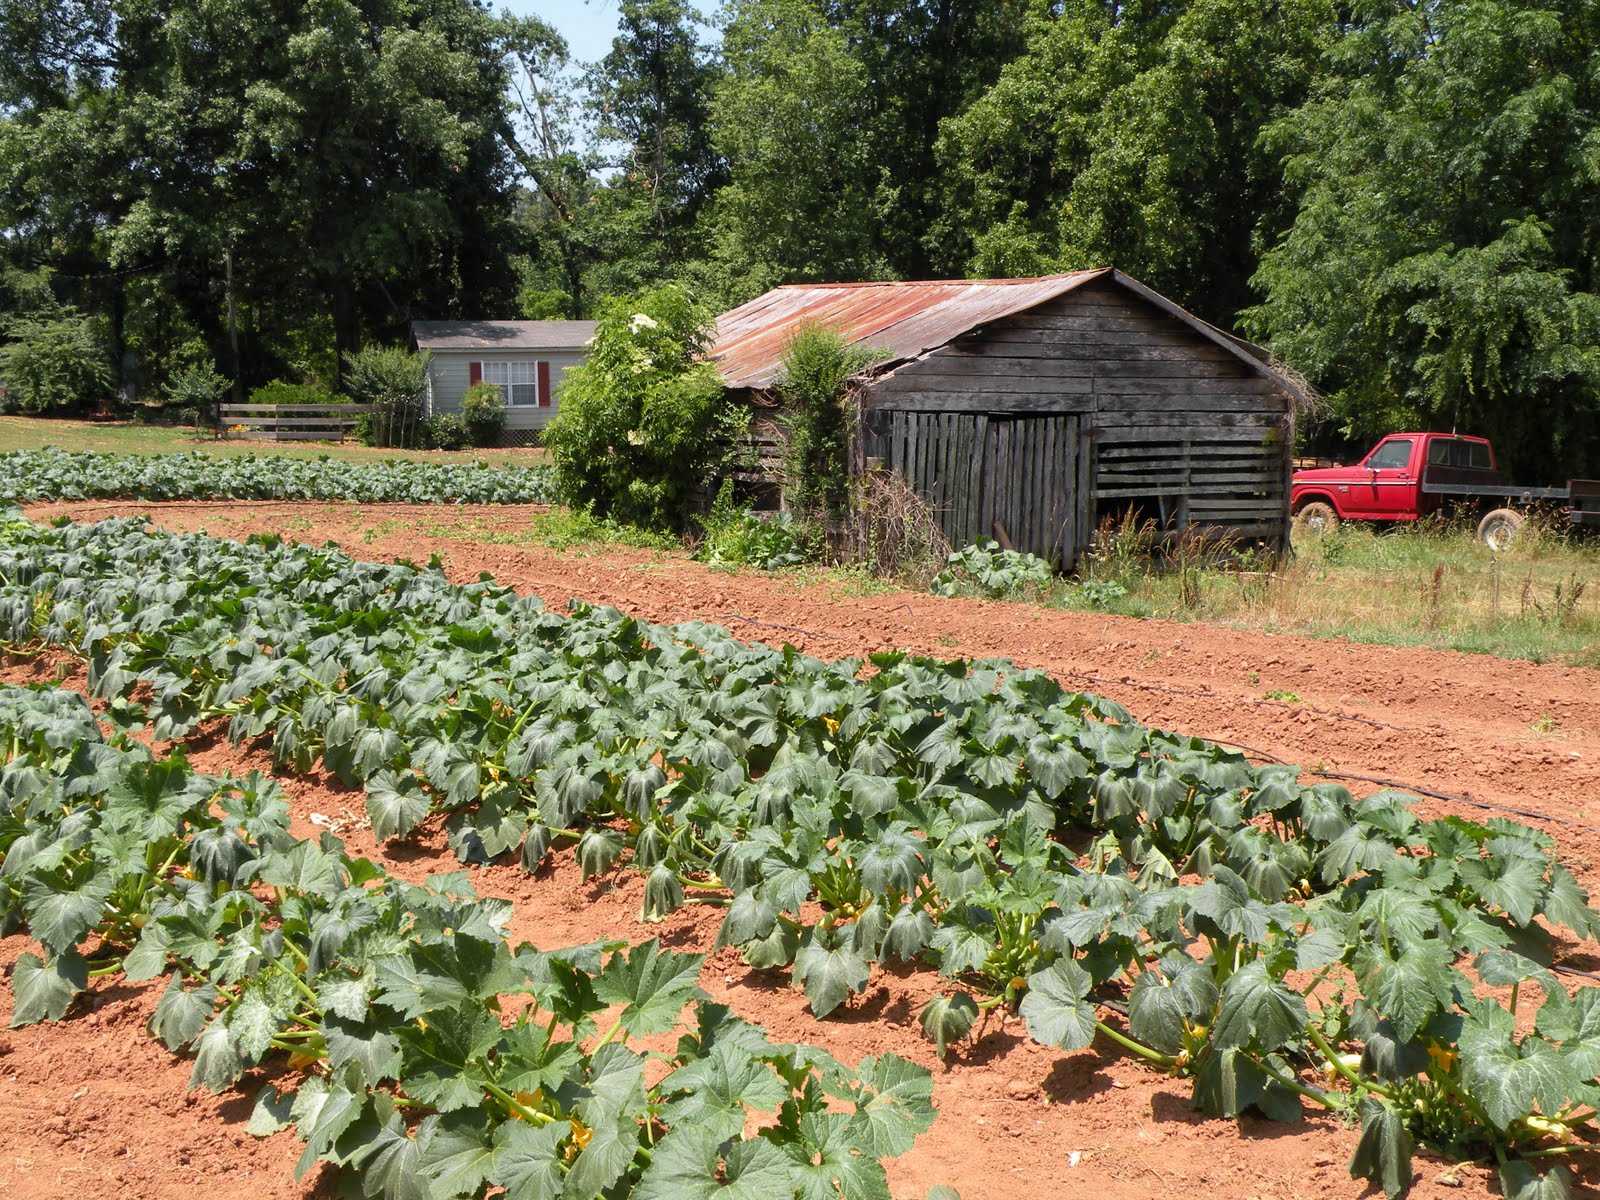
I've talked about Deer Creek Farms before.  Love that place.  And they have way more than just strawberries.

Like squash!  Which I bought and used to make Pasta Primavera the other night when Spencer went to a Braves Game.  I've gotten him to eat zucchini, but not squash.  Not yet at least.
They do have zucchini, though.  And not just any zucchini, mind you.  Henry and Lewis were all too happy to show off their gargantuan find.  Sadly, it will not fit on my grill.  No ma'am.
And then there are these babies.
No, they aren't raspberries.  They're blackberries!  Big, beautiful blackberries.  That served as the inspiration for the Pocket Pies I blogged about over at Healthy Happier yesterday.
When Mom and I stopped by, Amy mentioned that when they had been picking the day before, she and the kids had found tiny little blue and brown speckled eggs in a nest among the vines.  So of course I wanted to see.  But instead of eggs, here's what we found.
{ Can you see? }
{ MOM.  The meatloaf! }
Teeny, tiny baby mockingbirds!  Less than 24 hours old and no bigger than a chicken egg.  I took about as many pictures as I could, trying not to disturb them.  And then their Momma came back.  I don't think she liked us lingering around her babies.  Guess I don't really blame her.  If I (a) had babies and (b) saw a godzilla-sized creature wielding a large black object near them I'd be squawking, too.

Does anyone know of a place like this in the metro Atlanta area?  I'm all about fresh, local produce and I've never been to DeKalb Farmer's Market or anywhere like that.  Recommendations gladly accepted!

Saturday, June 4, 2011

Easy As Pie

If you're here from Healthy Happier, hello and welcome! If not, you can still download the recipe for Blackberry Pocket Pies.  Just click to save or print the PDF.
{ Yum. }
As promised... homemade pie crust!  It's not nearly so hard as people would have you think.  I'm certainly not a pastry chef, so if I can do it you can do it.  I'm convinced it's one of those things that folks want to keep feeling like it belongs to the most elite of cooks.  Not so.  I say pie crust for everyone! : )

Basic Pie Crust
Ingredients
  • 1 1/4 cup all purpose flour
  • 1 cup Splenda or confectioner's sugar
  • 1/2 teaspoon salt
  • 1 tablespoon lemon zest (about one lemon worth)
  • 1/3 cup plus 1 tablespoon cold butter-flavored shortening (i.e., Crisco); cut into small cubes
  • Ice water (likely 1/4 cup)
Equipment
Directions
  • Fill a measuring cup with ice cubes and cold water.  Place in fridge to cool.
  • Sift flour, Splenda and salt into bowl.
  • Add lemon zest, but do not stir.
  • Using the pastry cutter { or your hands, if you don't have one }, cut shortening into flour mixture.  The downside to using your hands is that the shortening gets warm and sticky, when you need shortening to stay cold and form crumbles, so work quickly.
  • Here's where it gets a little dicey, but you can do it.  Get your ice water from the fridge and sprinkle about one tablespoon over flour mixture.  Using your fingers, gently turn the flour mixture over the water droplets to moisten it.  You're not mixing, though, just exposing the flour to the water.
  • Repeat sprinkling and moistening process until you've used about a quarter cup of the water and the dough begins to come together into a ball.  It shouldn't be sticky { that means too much water, so add a bit of flour }.
{ Not quite... }
{ Bingo. }
  • Carefully pat the dough into a ball, wrap securely in plastic and refrigerate for at least 30 minutes.  It's the perfect opportunity to make the filling of your choice.
Speaking of filling, I promised you Apple Cinnamon!  And it's even easier than the blackberry.

Apple Cinnamon Pocket Pie Filling
Ingredients
  • One Granny Smith apple; cored, peeled and grated
  • 1/2 teaspoon ground cinnamon
  • 1/4 teaspoon ground nutmeg
  • 1/2 tablespoon lemon juice
  • 1 tablespoon Splenda Brown Sugar Blend (or traditional brown sugar)
  • 1 tablespoon frozen or very cold butter; grated
Equipment
  • Paring knife, for peeling and slicing apple
  • Box grater, for apple and butter
  • Mixing Bowl
  • Spoon
Directions
  • Combine all ingredients and mix well.  For pies, follow from Step 5 to completion as described in Blackberry Pocket Pies.
  • Great when topped with a glaze! Mix 1/4 cup sifted powdered sugar with 1 tablespoon melted butter and add milk one tablespoon at a time until desired consistency is reached.  Drizzle over pies and allow to dry.

Wednesday, June 1, 2011

How does your garden grow?

When Spencer and I went to Disney a few weeks ago, we spent a day at Epcot.  The nerd in me was super-excited about Future World and the World Showcase!
{ Love that this hasn't chagned a bit. }
Now, my memories of Epcot as a kid involve Spaceship Earth, a light-up Captain EO visor and Goofy in a space suit.  { For the record, Captain EO is back in all its 1986 George Lucas and Francis Ford Coppola glory.  Complete with moon-walking MJ and the original special effects.  Oh my. }
{ Poster cpyright Disney, of course. }
But what amazed me about Epcot this go around was that we were lucky enough to visit during their annual HGTV Flower and Garden Festival.  Given the recent demise of my rosemary, I'm no professional gardener.  But, I figure, I started off buring stuff in the kitchen before I was a halfway decent cook.  I guess you've got to kill a few plants to figure out how not to.

The festival provided inspiration on a multitude of fronts.  First, the topiaries:

{ Minnie's dress is made of begonias! }
{ Lightning McQueen and Tow Mater }
{ Look at sweet little Dopey! }
{ Love the Tick Tock Croc and the plume on Hook's hat }
But as much as I can aspire to a garden like my mom's { or like the pros at Disney, same difference }, we live in a townhouse.  With no yard.  So maybe topiaries aren't in my future.  Besides, if I had topiaries, they'd probably be of the "Eat More Chicken" cows.  Not sure my HOA would like that.  Nor do they like the dead rosemary.

So if I can't pull off an elaborate topiary, and the dead rosemary has to go, how about something a little more along these lines?
{ Maybe this I can do.  Maybe. }
With a little help and encouragement from Mom, I emptied the rosemary's pot and added pea gravel for drainage.
{ Take that, root rot. }
It's no Disney masterpiece, but I transplanted the Creeping Jenny { that somehow survived a winter on the deck } along with a new honeysuckle vine Mom propagated.
With the random Creeping Jenny now on the front porch and my feeling inspired { and again, encouraged by Mom }, we now have two red white and blue planters on the deck, too.

If this 95* weather doesn't kill them and I manage to water regularly, perhaps these will survive the summer!

How does your garden grow?  Any tips for a beginner?